Happy Thanksgiving, residents. To help you celebrate the holiday, we’ve got a suggestion for a fun family craft to try. The craft is called a Thankful Tree, and it’s a great, and fairly simple, way to remember some of what you’re thankful for this year and in the years to come.
What you’ll need:
A selection of small branches and twigs to tie together to create a tree. You can alternatively bend 16 gauge craft wire together to form the tree shape, but that’s a bit more difficult.
Ribbon or twine to tie together your twigs at the base, and a jar or vase to keep them in.
Red, orange, yellow, and brown construction paper.
Scissors.
A hole punch.
A pen.
What to do:
Collect small, thin branches and twigs to use. You want to construct a tree-like shape with them by allowing them to point out in different directions at the top. Tie them together towards the bottom, still allowing them to fan out naturally on top, and place them in a properly sized vase or jar.
Cut leaf shapes out of red, orange, yellow, and brown construction paper. Kids who are old enough to handle scissors can help with this part, and you can mix and match different leaf shapes.
Hole punch one corner of each leaf.
Place the hole punched paper leaves in a bowl on the table next to the Thankful tree, along with a pen. Through the week of Thanksgiving, or however long you want to do it (you could even keep doing it for the rest of the month, or longer!) members of the household can come pick a leaf, write one thing they're thankful for on it, and hang it on the tree.
For families, it might be nice to read off the leaves aloud on Thanksgiving together, or at another chosen time. It’s a great reminder of everything we have to be grateful for!
We hope your celebrations are wonderful, and once again, happy Thanksgiving!
Thanksgiving is just around the corner, and with any luck, that means a night of delicious food, plus leftovers, even if the crowd around the dinner table may need to be slightly smaller this year. Whatever you have as your centerpiece, we feel that what truly makes a Thanksgiving dinner special and unique is the choice of side dishes, which can truly bring a personal flavor to the feast. We have here a couple of great recipes for Thanksgiving side dishes that may be worth trying out next week!
Roasted Brussels Sprouts
This recipe is highly customizable based on your tastes! It’s fairly easy to roast Brussels sprouts, and you’d be surprised by how delicious they are when they’re crispy on the outside and a little bit soft inside. This is the recipe for the most basic, tasty Brussels sprouts roasting, and then after they’re finished there’s a thousand different ways to flavor them. We’ll narrow it down by giving you a couple of suggestions!
Ingredients:
1 pound of fresh Brussels sprouts
Sea salt and black pepper, to taste
Extra-virgin olive oil
Directions:
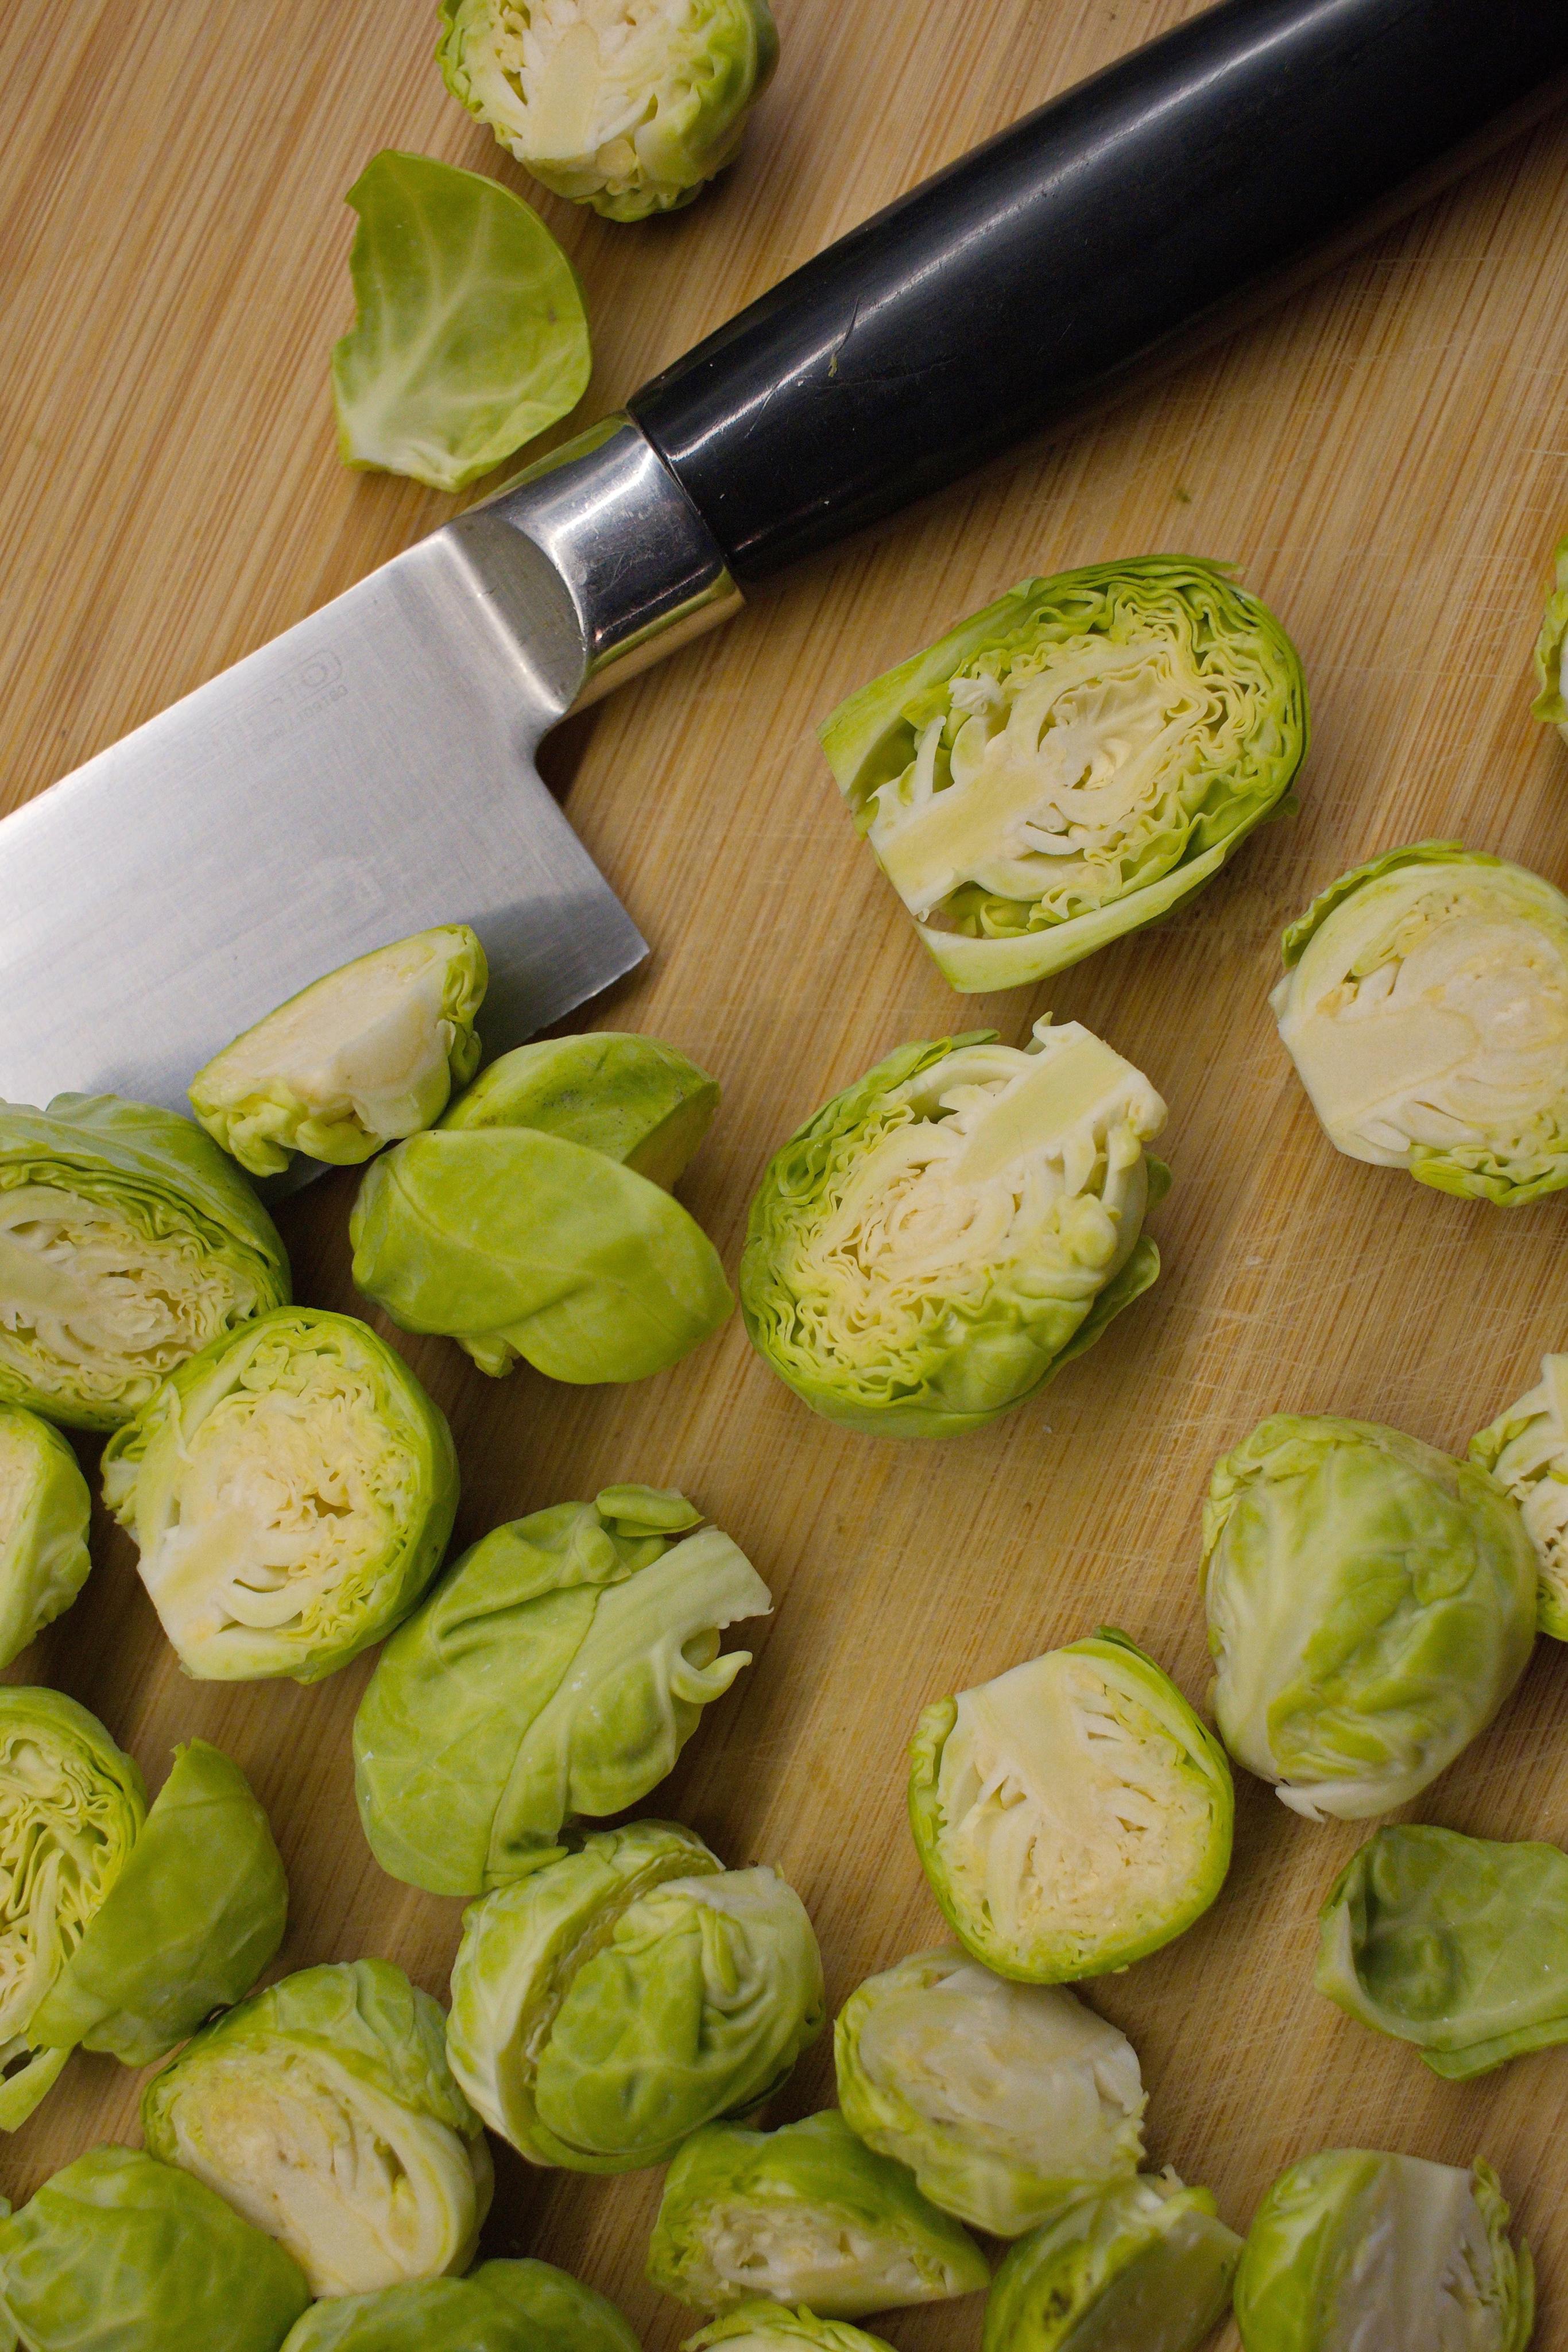
Preheat your oven to 425 degrees, and line a baking tray with parchment paper or tinfoil. Take your Brussels sprouts, and wash them, and then pull off some of the looser exterior leaves. Then, slice them in half lengthwise, and put the sliced halves in a bowl. Toss them with your salt, your pepper, and drizzles of olive oil, until coated. Then, place them on your lined baking sheet!
You want to roast them for 30 to 40 minutes, until they’re tender and easy to pierce with a fork, and golden brown on the edges.
Once you’ve removed them from the oven, you can flavor them in a variety of different ways: garlic powder, red pepper flakes, lemon juice, cheese, or a bit of cooked bacon are all delicious possibilities! You can combine as many toppings as you’d like, and feel free to experiment.
Herbed Mashed Potatoes
Mashed potatoes are a delicious stable of the Thanksgiving table, and this is a guaranteed way to bring them up a notch. Garlic and herbs are delicious in potatoes, so this is an absolute hit at dinner.
Ingredients:
4 pounds of golden potatoes, which should come out to around eight
2 cups heavy cream
8 sprigs of thyme
2 sprigs fresh parsley
1 bay leaf
4 tablespoons of unsalted butter
6 black peppercorns
Kosher salt
Directions:
First, wash and peel your potatoes, and then cut them into quarters. Place your peeled and quartered potatoes into a large pot, and add in enough cold water to fully cover them. Bring the pot to a boil. Add in 2 teaspoons of your Kosher salt, and then reduce your heat and simmer until the potatoes are slightly tender, which should take around 15 to 20 minutes.
While the potatoes are simmering, place the butter, cream, and all your herbs (bay leaf, parsley, thyme, and peppercorns) into a small saucepan, and bring it to a boil. Once it’s boiling, reduce the heat and simmer the mixture for 3 minutes, and then take it off the heat.
When your potatoes are slightly tender, drain them, and leave them in the pot, this time without the water. Strain your cream mixture into the bigger pot with the potatoes. Add ¾ a teaspoon of the Kosher salt, and mash the potatoes with the cream mixture until they’re your desired mashed potato consistency. Then, serve! This is obviously best hot, but should store in the fridge and reheat well if you desire leftovers.
Fig and Rosemary Cranberry Sauce
This is a fairly simple recipe to make that will nonetheless wow the family at your table by bringing something new to the usual cranberry sauce, and sound impressive to boast about cooking. It only takes four ingredients, including dried figs that rehydrate as they cook.
Ingredients:
1 cup of chopped dried figs
12 ounces of cranberries, either frozen or fresh
½ of a sprig of rosemary
½ of a cup of honey
½ of a cup of water
Directions:
Put a medium saucepan on your stove, and put all your solid and liquid ingredients into it -- the figs, the cranberries, the rosemary, the honey, and the water can all be combined here. Then, heat the saucepan on the stove, bringing your mixture to a boil. You can stir occasionally while this is happening. Once it’s boiling, lower the heat, and let the mixture simmer. Continue to stir occasionally while the mixture simmers for 15 to 20 minutes. You want your cranberries to burst, and your sauce to thicken.
When that’s finished, you can remove the rosemary (it’s not very fun to chew on its own, and you wanted it for the flavor!) and serve your sauce either at room temperature or warmed, depending on preference. Delicious!
Happy Thanksgiving, residents! We hope this gave you some ideas for your own holiday feast, and we’d love to hear from you in the comments about what you’re planning to make.
Our very own Gilbert Fire & Rescue is beginning their annual “Collecting Clothes & Toys for Gilbert Girls & Boys” drive soon, in partnership with Gilbert Public Schools! With Thanksgiving coming up this month, this is a great time to remember all you’re thankful for by making a difference in the lives of other Gilbert families.
The drive runs from November 23rd to December 14th, and requires the clothes and toys you give to be new and unwrapped. You can drop off your boxes of donations at the Gilbert Fire Administration, at 85 E Civic Center Drive, or at the Gilbert Municipal Building at 50 E Civic Center Drive. You can stop by anytime from Monday through Thursday, from 7:00 am to 6:00 pm. It’s also possible to help virtually, by shipping your items to the Gilbert Fire Administration, instead!
We think this is an incredible opportunity to help out the people in our Gilbert community, and would love to hear from you about the donations you make!
As we ramp up into the holiday spirit, it can help warm our hearts and remind us of what’s truly important at this time to give back when we have the opportunity to. Even a small donation can make a huge difference for a family in our area.
The Gilbert Fire & Rescue team is also looking for Holiday Heroes to sponsor Gilbert children’s holiday wishlists. You can register here and a representative from Gilbert Fire & Rescue will reach out to you to arrange any details! Thank you, residents, for your part in making the community, and our neighborhood, wonderful.
This time of year, it’s easy for things to start to feel a little same-y. It’s been a while since spring cleaning and reorganization, and we might start seeing even more of the insides of our homes if the weather starts to cool down. We came up with a short list of simple decoration tips to refresh your apartment and help to shake things up.
Consider Your Wall Art
There’s so much that can be done with your walls. Putting up a new piece of art, rearranging your art, or just changing the picture frames can all seriously affect the look of the room as a whole. Changing things up even slightly can make a huge difference, because you probably don’t always notice things that have been the same for a long time!
Throw Pillows
Throw pillows are an easy way to change the feel of a room without a ton of work. You can swap them out depending on how you feel, and transform the whole space! Some brightly colored throw pillows on your couch can lift up the mood of the entire room, and even rearranging the same ones can mix up the visuals in an interesting way. It’s even possible to use the same pillows and use different exchangeable covers.
Plants and Other Free-Standing Decorations
Adjust decoration without taking up extra space by going vertical! You don’t need a ton of room for something like a potted plant, a standing lamp that will brighten up the room, or a candle for the coffee table. Little things can entirely refresh your apartment, and change how you feel about your place as well.
Halloween is coming up, and we think such a fun, spooky holiday should come with fun, spooky snacks. To help spread this motto, we have some easy Halloween snack ideas for you to make at home!
They Did the Monster… Marshmallow…
A little chocolate, caramel, or jam makes for an array of marshmallow treats anywhere from bright and festive to downright creepy. The only limit is your imagination, but here are a couple ideas!
Each version begins with a marshmallow and a reusable or paper straw.
Ingredients:
Marshmallows
Melted caramels
Halloween-themed sprinkles
Optional: Sweetened condensed milk
Directions:
Skewer each marshmallow on a straw, and use the straw to dip the marshmallows in caramel. Next to your stove, prepare your stations: One plate full of skewered marshmallows, one with a layer of sprinkles for dipping, and one on which to place the finished product.
To melt down your caramels, place the candies in a heat-proof bowl and select a pot the bowl can sit comfortable on top of, without falling in. Optionally, add 1 tbsp sweetened condensed milk per cup of caramels. Hold the bowl carefully with a potholder, and with your other hand, stir constantly.
Once your caramels are melted, hold marshmallows by the straw and dip the bottom and sides of each marshmallow in caramel. Allow excess to drip back into the bowl, then move right away to dip the bottom in your festive sprinkles. Move your finished marshmallow pop to the serving plate, and repeat!
Ingredients:
Marshmallows
Strawberry or raspberry jam
Melted white chocolate
Multicolor M&Ms
Directions:
Use your reusable straw to create a hollow in your marshmallow: Push it into one side until you’ve nearly reached the other end, and then turn and press your straw to the side to cut a piece of marshmallow out of the center. Remove the straw, and discard this extra piece.
With a spoon or a piping bag, load a small amount of red jam into the center of your marshmallow.
To melt white chocolate, either place the pieces in a heatproof bowl on top of a pot of boiling water, or in the microwave. For the microwave: Heat white chocolate chips for 20 second increments, pausing to stir and scrape bottom. For the stovetop method: Choose a pot just the right size for your bowl to nestle on top of, without falling in. Boil a pot of water, then sit your heatproof bowl on top of your pot. With a rubber spatula, stir chocolate constantly until melted.
Use a spoon to lift melted white chocolate and coat the tops and sides of each marshmallow. Before the chocolate can set, press an M&M “iris” into each eye.
Have napkins at the ready before taking a bite!
Mozzarella Bone Bites
“Real” food goes out the window on Halloween—and what else is the holiday for? But few people of any age appreciate the sugar crash an hour before bed, after sustaining themself through the night on candy alone.
To keep in theme with the Halloween spirit, but also keep textures familiar and friendly for a choosy palate, try your hand at these saucy skeletons:
Ingredients:
Mozarella cheese
Pizza sauce
Prepared pizza dough
1 egg yolk
Optional: fillings of your choice
Directions:
Preheat your oven to 350 degrees, or according to your dough’s package instructions.
Roll your pizza dough out to 1/4” to 1/2” thick. Using a pizza cutter, cut 4” by 7” pieces of dough.
Spread a little sauce over each rectangle, but be conservative! Leakage will keep the bone bites from sealing. Leave at least half an inch of bare dough at every edge, for later.
Sprinkle mozzarella cheese in a line along the center of each rectangle. If you have any additional toppings, add them now, but chop them up tiny! Our secret ingredients are a sprinkle of parmesan and a pinch of Italian seasoning—or red pepper flakes, if spicy’s your style.
Pick up one of the shorter ends of your rectangle, and begin to roll it toward the other end. Roll your dough the same way you would roll a jelly roll or a yoga mat: There should a spiral in the middle.
Press the end of the dough into the spiral to seal it shut. (If need be, use a fork to press this loose end into the rest of the bone, and then use your fingers to smooth out the indentations.) Now, pinch the ends of each spiral shut.
Lightly roll your dough spirals, keeping your fingers about an inch away from each end. Continue until the inside is still sturdy, but narrower than the ends.
Using clean kitchen scissors, make a 1/2” cut in the middle of each short end. This creates the heart-shaped end of each bone! And finally, Brush the top of each bone with an egg yolk wash, and bake for 20 minutes.
Serve with warm marinara dip for extra blood!
Cookie Dough Black Widows
They did it. They made cookie dough that we can eat by the spoonful, no salmonella included.
Ingredients:
3/4 cups brown sugar
1/2 cup butter
1 tsp vanilla extract
1/2 tsp salt
1 cup all-purpose flour
2 Tbsp milk
1/2 cup mini chocolate chips
1/4 cup regular (semisweet) chocolate chips
Pretzel sticks
Directions:
Salmonella isn’t the only risk with uncooked cookie dough—raw flour carries risks as well. To make a truly safe raw cookie dough, measure your flour onto a baking sheet and, carefully, bake at 350 degrees for 5 minutes, and allow to cool as you prepare the rest of your recipe.
On medium speed, beat together softened butter and brown sugar until the mixture turns creamy. Once combined, add the vanilla extract and salt, and beat for an additional minute.
Now add your baked flour, and beat until your mixture starts to look like a proper cookie dough. Add your milk, add only the mini chocolate chips (leave the larger ones aside), and mix until blended.
Using a spoon, scoop out small balls of dough and roll in the palm of your hand until round. Place balls of dough on a wax paper-lined plate or serving dish. Press four pretzel sticks into each side for legs, and finally, press two chocolate chips into the top—with their points kissing. This is your spider’s hourglass.
We’re wishing you a safe and fun Halloween this year. Lay out your coffee-table spread, curl up to a creepy movie (or a comforting classic), and treat yourself! Are there any recipes you can’t do Halloween without? Let us know in the comments!
Halloween is coming up fast, but for many of us, it’s going to be a little bit different this year. In case you’re still pondering potential Halloween plans, we have a list of some ways to celebrate Halloween from home to help inspire your festivities.
Decorate
Appropriately spooky decor can go a long way in creating the right holiday atmosphere and getting you in the Halloween spirit. Whether you want to craft your own decorations with traditionally carved Jack-o’-lanterns and cut-out paper spiders, or go with store-bought spider webs and skeletons. We’d suggest decking out not just your doorstep, but the inside of your apartment! Bring the Halloween energy inside for the year.
Spooky or Halloween-themed movies
This one is all about personal preference. If you’re a horror fan, you can probably handle a little bit of spooking, but there’s all types of classic Halloween films that are fun for all ages, like Hocus Pocus or It’s the Great Pumpkin, Charlie Brown . Get your favorite Halloween candy and pop some popcorn, and spend the evening (or even the whole weekend!) with a marathon of fun, thematically appropriate films.
Candy hunt in the apartment instead of trick or treating
Not everyone is comfortable with doing trick or treating this year, and we absolutely understand. However, just buying candy and eating it like you can on any other day may feel sort of anti-climactic for the holiday. That’s why our suggestion is a fun scavenger hunt with candy as the prize! Dress up, hide candy in different places throughout the apartment (or have someone else do it, if you want to participate!) and then do a search for the treats. If you want to get a little more elaborate, you can make it a true scavenger hunt with clues leading you from one location to the next!
Happy Halloween residents! We hope you have fun this year, whatever you end up doing, and we wish you an enjoyable night!